Has it really been nearly 6 months since I last posted? WOW! The great move has been so distracting, I haven't been doing my usual sewing and knitting. Now, with winter just around the corner, scarves have been on my mind and finally on my knitting needles.
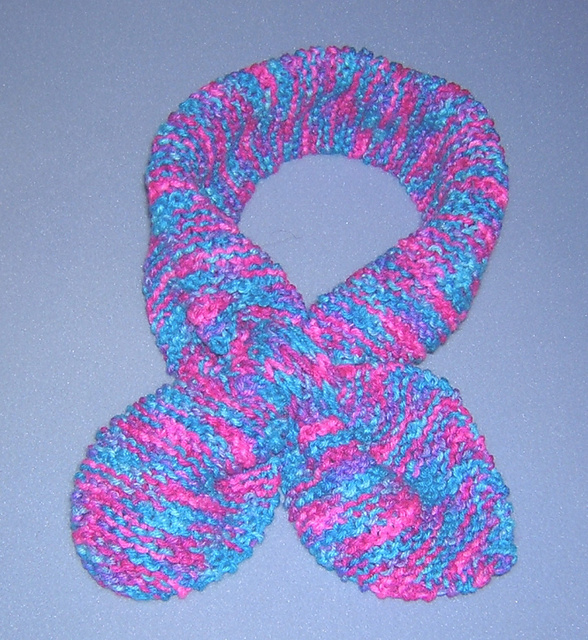
 This little scarflette was an enjoyable weekend project that will likely become a repeat. I will make some changes in the keyhole opening, though. I prefer dividing the stitches to make an opening between 1x1 ribbing.
Right now, a version of the potato chip scarf is on my needles. While some can't make just one, I am finding the endless short rows too boring. I think this one is my last.
Want to knit one of my favorite scarflettes? I have been making this one since we took up cross country skiing in the 80's. The design was from a couple of scarves my mom had when we lived in Winchester, New Hampshire. I don't remember wearing either after my family started moving around. My mom had forgotten them but I found the style so fascinating and practical for skiers that I just had to create the pattern from memory. By the size of the scrap bag I gave away on freecycle this summer, I must have knit and given away hundreds since that first one I recreated with a skein of worsted weight yarn.


